
Build the life, career, or team you want.
Coaching, advisory, and speaking for people who know something needs to change.


Sounds familiar?
For you:
You keep getting passed over for jobs you could do in your sleep.
You did everything "right" but it still doesn't feel right.
You look fine, but you don't feel fine.
You keep saying yes when you mean no.
You'd quit tomorrow if you knew what's next.
You're leading, but part of you feels like you're just winging it.
You're working on something important, and want to do it right.
For your team:
Your smartest people are quiet in meetings and loud in exit interviews.
Tasks get done, but no one owns the outcomes.
Step away for a week and things stall.
Your best people give less than you know they can.
The off-site was good. The follow-through wasn't.
Your audience is tired of polished expertise that never risks saying anything real.
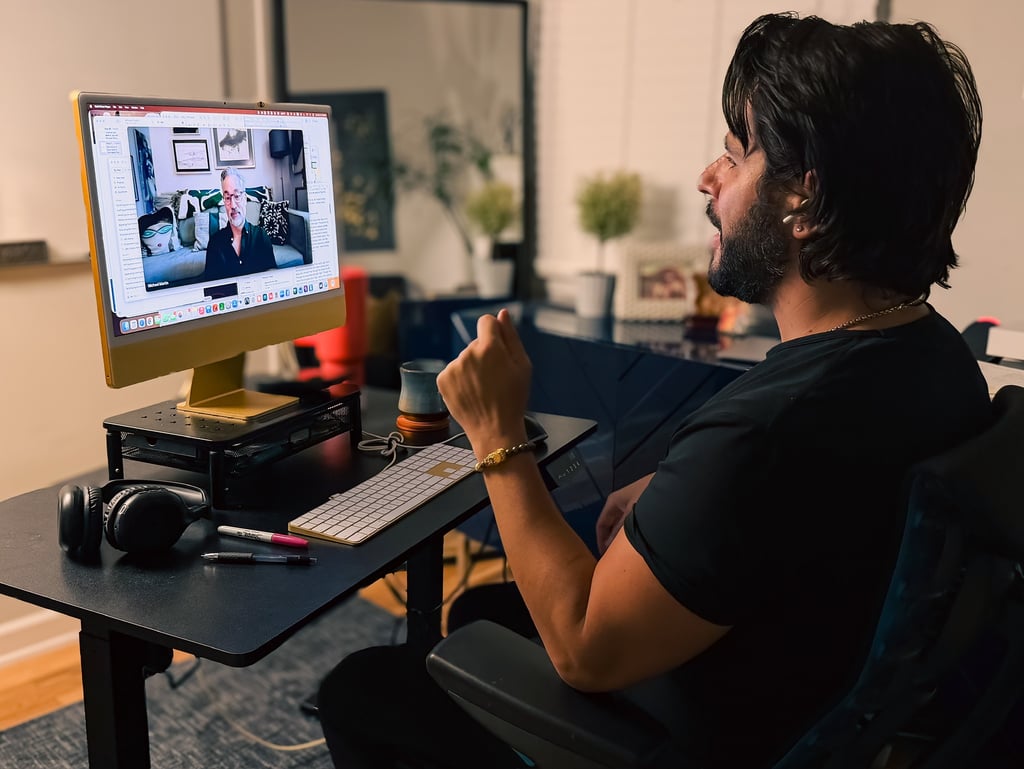
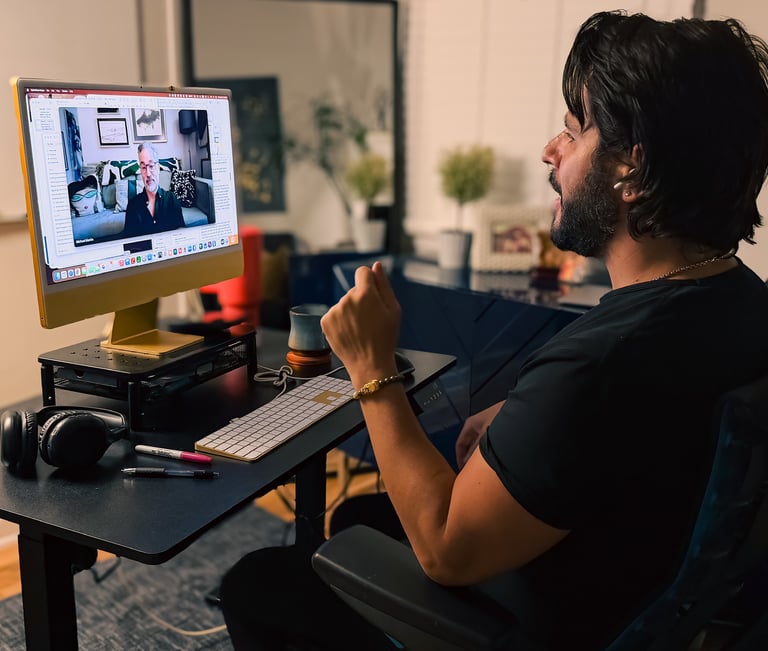
What happens when we work together.
I don't fix you.
I introduce you to yourself.
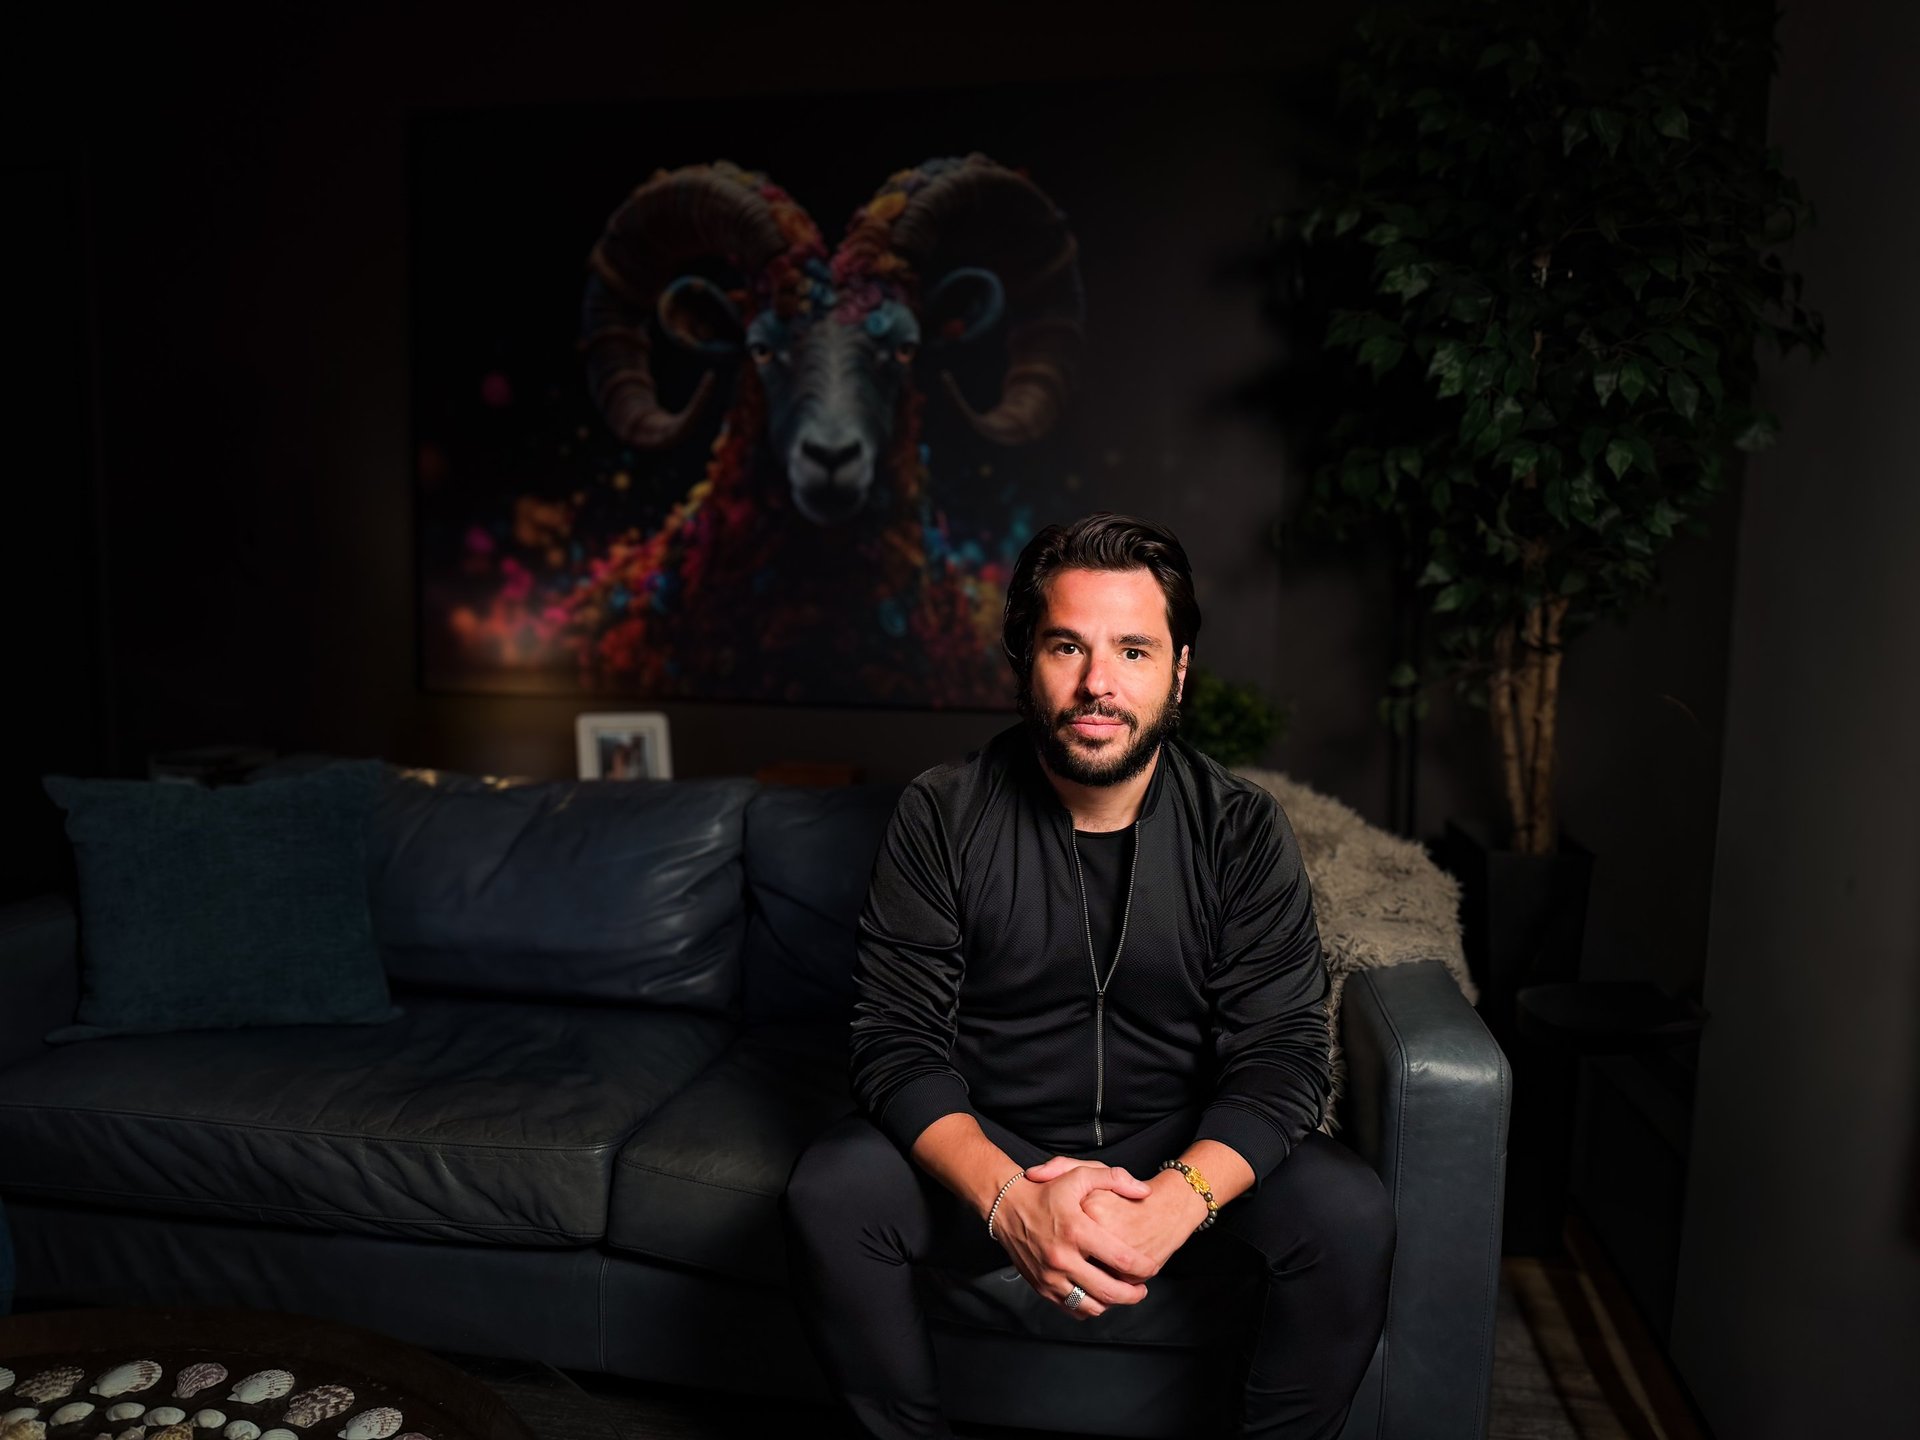
I survived an assassination attempt at 5 and came to Wisconsin at 17 with $375 and panic attacks. By 26, I was in White House meetings.
On paper, I'd made it.
Then one night I sat on my apartment floor with a bottle of Jack Daniel's, deciding whether to keep going.
Instead of out, I went in. Lost 50 lbs. Built a life, career, and business I love. That's how Radical Ownership was born—from the floor up.
— Adi
Clients in their own words.
★ ★ ★ ★ ★
"I came into coaching skeptical, thinking it would be the usual fluff. At one point, I even tried to get out—I AM GLAD I DID NOT.
Adi helped me fundamentally change the self-imposed roadblocks. By applying what I learned from him, I was able to land an incredible job and reach the heights I always knew I could achieve."
★ ★ ★ ★ ★
"I've gotten more follow-through and care from Adi than every therapist combined over the last 25+ years.”


— Matthew Oleskiewicz
Area Manager, Botrista
Focus: Career Breakthrough
— Tyler O’Guinn
D2C Email Marketing Specialist, Lovesac
Focus: Personal Growth

★ ★ ★ ★ ★
"In career, family, and relationships, Adi helps you feel understood, motivated, and confident. Weekly sessions are like a reset... you finish empowered and in a better spot than when you started."
— Michelle Silvas
Commercial Development Manager, Neste
Focus: Holistic Transformation
I'm ready when you are.


Coaching, advisory, and speaking for people who know something needs to change.


ADI REDZIC
© 2026 Adi Redzic. All Rights Reserved.